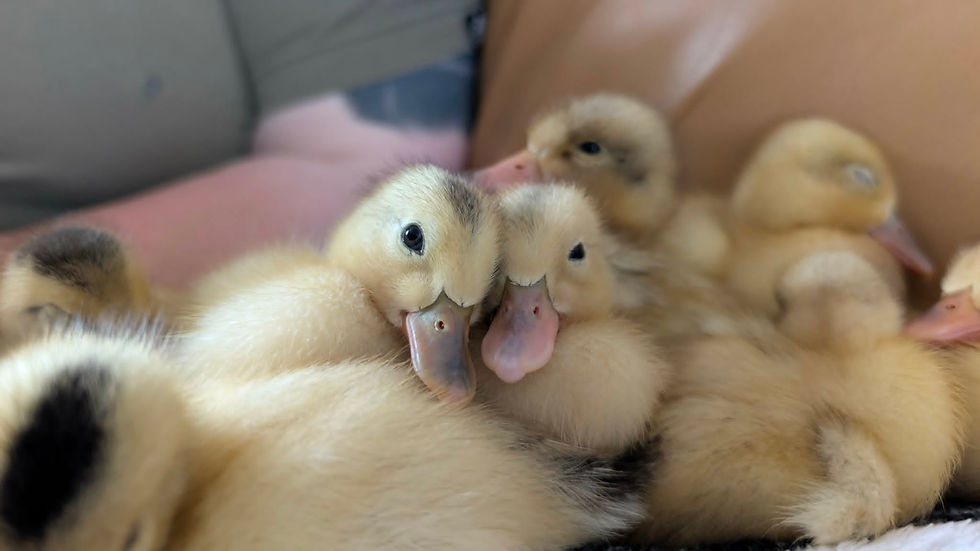
It really is
All It's Quacked Up To Be
Welcome to the wonderful world of waterfowl! Ducks are the ultimate choice for enhancing your garden, seeking rich, nutrient packed eggs or starting your smallholding dream.
Why choose ducks over other poultry? These charming, hardy birds offer incredible benefits that make them a rewarding addition to your garden. They are fantastic long-lived layers, with top egg producing breeds comfortably producing 250+ delicious eggs per year - some birds even continue to lay throughout winter!
If you are new to waterfowl, you will be pleased to know that ducks are incredibly beginner friendly. With their waterproof feathers and robust immune system, they are highly resilient against harsh British weather conditions. They are also much less destructive to your garden than chickens, acting as highly efficient, chemical-free pest controllers that happily clear your garden of slugs and snails!






Bantam Ducks
Bantams breeds like the Call duck, Black East Indian, and Miniature Silver Appleyard are pint-sized alternatives to standard Indian Runners or Khaki Campbells. Weighing under 1.5kg, these compact birds are classified as ornamental breeds. While they are not prolific layers—producing anywhere from 50 to 150 eggs per year - their charm and striking looks make them wonderful backyard additions.
If you have a smaller garden or an allotment, bantam ducks are a perfect fit. A wonderful bonus of their small size is that they are incredibly gentle on your garden and won't trample your favourite plants. Just remember that these compact birds are fantastic flyers, so you will need to clip their wings to keep them safe.
Bantams love to go broody and will gladly hide eggs to set up a secret nest. If you don't want them to hatch their own eggs, you must remove them swiftly. If you are happy for them to hatch their own, these pint-sized breeds can make fantastic mothers.
Light/ Heavy Ducks
Light breeds, such as Indian Runners, Campbells, and Welsh Harlequins mature quickly and start laying eggs at just 16 to 20 weeks old. They are ideal if you want friendly backyard pets that double as prolific layers.
Heavy breeds like Rouen's, Pekin's, and Muscovy's mature at a slower pace, beginning to lay around 20 to 30 weeks. If you are looking for a true dual-purpose bird that produces plenty of meat alongside eggs, a heavy breed like the Muscovy is the perfect fit.
Both light and heavy breeds are most suited to a larger garden or allotment, your garden beds must be fenced off or netted to protect your plants - breeds of this size have very big feet that will trample your favourite plants with ease. Although most breeds within this classification are ground dwellers and cannot fly, Muscovy's are very good flyers and love to perch up high.
While most light and heavy duck breeds are not known for going broody, Muscovy's are the ultimate exception! They are the top heavy breed for brooding. Thanks to their incredible natural mothering skills, many keepers use them as a reliable, natural alternative to an incubator.
Housing Essentials
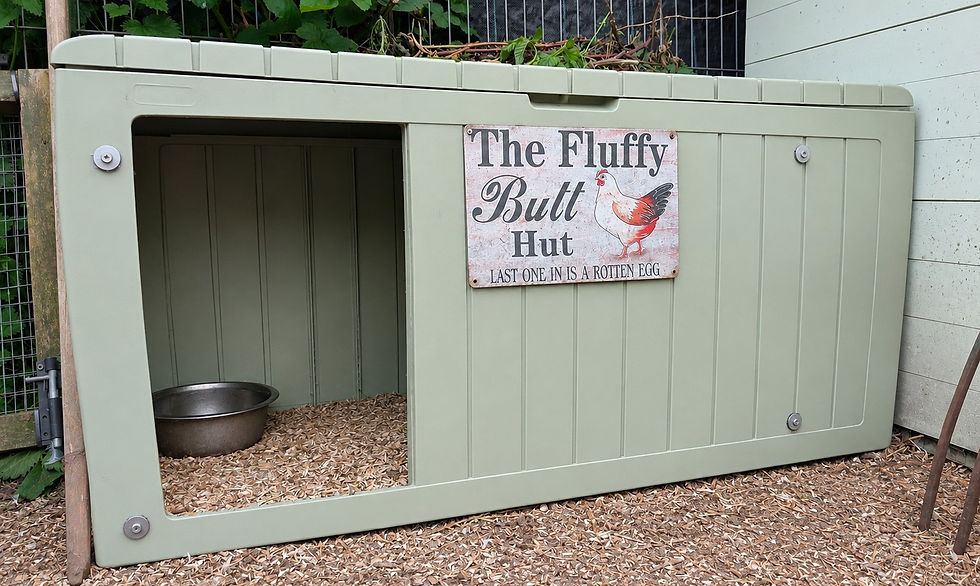
Setting up duck housing is easier than you might think! Options range from purpose-built duck arks to converted children's playhouses.
To choose the right one, look at your daily routine, if your ducks permanently live in a secure, predator proof pen - any basic shelter will work. This gives them an area to use as a nest or even escape extreme weathers.
If they free-roam your garden by day and only head inside at dusk, a highly secure, predator-proof house is absolutely essential to protect them overnight.
Basic shelter ideas for secure runs
-
Converted children's playhouse: Unlike chickens, ducks do not suffer from red mite infestations, making wooden playhouses a viable housing option. If you use wood, be sure to add a waterproof floor covering to prevent rot. Alternatively, plastic playhouses are naturally waterproof and ready to use. Depending on your flock's size and breed choice (bantam, light, or heavy), you may need to invest in an extra playhouse.
-
Water drum: A fantastic DIY housing trick is to cut a blue plastic water drum in half and carve an arched doorway into each half. Flipped upside down, these create perfect, instantly waterproof shelters! This design is especially great for broody breeds, who love searching out enclosed, hidden spots to lay their eggs. It gives them the ultimate sense of security for a calm and peaceful brood.
-
Plastic garden storage box: Garden storage boxes are another fantastic housing alternative! Whether you choose the tall style typically used to hide wheelie bins or the shorter bench style boxes, you can easily transform them by cutting out a simple doorway. They create a wonderful secluded, private retreat where your ducks will feel safe to lay eggs or settle into a brood. Plus, because they are made of plastic, cleaning is a breeze! Just hose them down whenever they need a refresh.
-
Compost bin: Plastic compost bins are an excellent, ready-made housing option that requires absolutely no cutting or DIY modification. By simply leaving the bottom hatch or cover off, you create an instant, snug, and naturally waterproof shelter. It provides a highly secure environment that is perfect for ducks looking to lay eggs or brood.
Secure housing for night time protection
-
Wooden shed: Select a size and style that fits your flock. After assembling the shed, cover the lower half of all walls, door and floor with 0.5" mesh to stop predators from chewing or digging their way in. For complete fox-proofing, use heavy-duty 14-gauge wire.
-
Wooden bike store: This follows the same design as a standard shed, walls, door and floor must be meshed.
-
Metal shed: Metal sheds work perfectly if you make a few DIY modifications. To stop predators from digging in and to keep your ducks safe at night, you must secure the floor. Either lay slabs over wire mesh, or dig a 1.5ft deep mesh skirt around the outer perimeter, backfilling the trench with bricks, stones, and soil.
Nest Boxes
Are nest boxes a requirement for ducks? Not necessarily.
If provided, would they use them? Depends on each duck and what they prefer really.
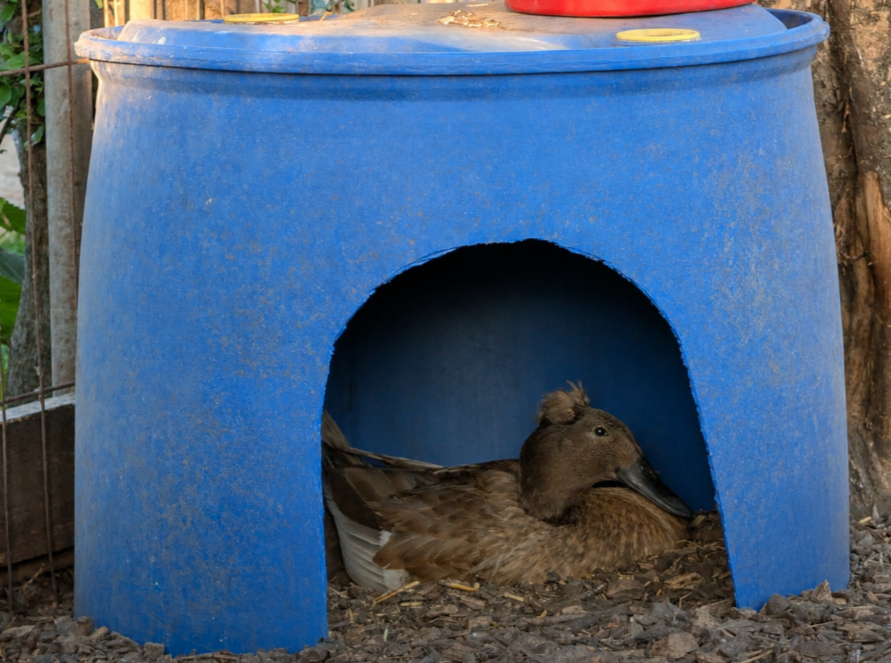
Even for typically non-broody breeds like Indian Runners, we highly recommend providing multiple nesting choices - typically in the form of our 'Basic shelter ideas for secure runs'. While the final decision is up to the ducks, offering a variety works best. Right now, our flock’s favourite spot is an upturned half-barrel. They also have a straw-bedded wooden frame beneath the chicken nesting boxes, though they occasionally prefer to hop into the chicken coop and lay right underneath the roosting hens at night.
Providing multiple nesting choices is equally important for broody breeds, such as Black East Indians. Broodies instinctively select areas that offer maximum safety so will seek out secluded, secure spaces where they feel safe hatching their eggs. To accommodate this, we offer a range of choices, including upturned half-barrels, children's playhouses, garden storage boxes, and even an enclosed nook beneath the chicken coop.
Care & Enrichment
-
Diet: Ducks require a high-protein diet (20% as ducklings and 16-18% as adults), this is essential to support their rapid growth as the nutrition powers healthy muscle, skeletal and feather development.
Recommended brands of duck feed: Farmgate Layers Pellets, Farmgate Duck & Goose, Heygates Duck & Goose Pellets & Allen & Page Smallholder Goose & Duck Breeder Pellets.
-
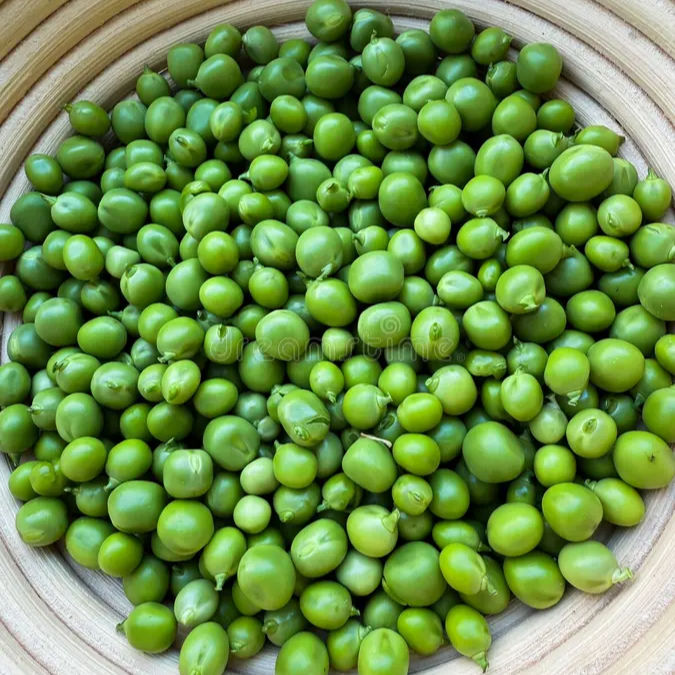
Treats: Popular duck treats include leafy greens, fruit, worms & garden peas! Garden peas are a firm favourite with all ducks & they're a fantastic source of Niacin! (Vitamin B3).
Key information: Feeding dried mealworms to poultry (including quail) that produce eggs or meat for human consumption is illegal under DEFRA regulations. Feeding live mealworms is legal.
-
Water: Ducks should always have access to fresh, clean water. If you lock your ducks in secure housing overnight and you don't have a drainage area in their house, you can remove their water source, along with their feed until the following morning.
Key information: Ducks require water deep enough to submerge their heads and flush out their nostrils completely. This depth is essential for keeping their airways clear and their eyes clean.
-
Grit: Since ducks don't have teeth to chew, they need grit to help their gizzard (a powerful, muscular organ) grind and break down their food manually. Having a source of grit available at all times helps prevent impacted crop.
Key Information: You can give your ducks crushed oyster shells or eggshells to serve two great purposes: helping their gizzards grind up food and providing the calcium they need for strong eggs. Of course, if they love rooting around in your garden, they’ll naturally find their own grit in the dirt.
-
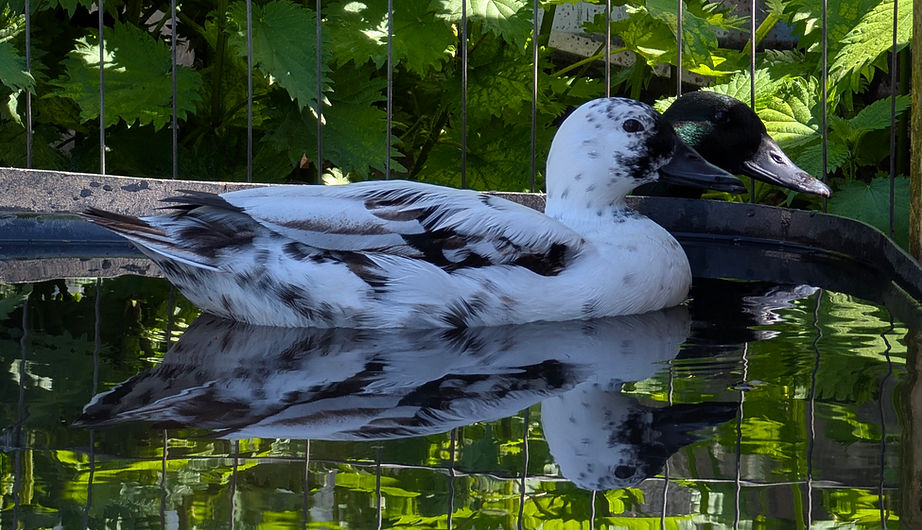
Enrichment: While permanent ponds are optional, a simple bathing area like a pre-formed pond or a plastic child's sandpit offers fantastic enrichment. Ducks love to splash, dive, and preen their feathers in the water. While enriching, this is also essential for maintaining their overall health and hygiene. Ducks spread natural preen oil across their feathers to create a waterproof barrier that keeps them buoyant and warm. Without regular access to clean water for bathing and preening, they can suffer from "wet feather." This dangerous condition ruins their water-resistance, leaving feathers waterlogged and exposing the duck to fatal chills. Additionally, daily bathing and preening naturally keep harmful parasites and feather mites under control.
.jpg)
For a natural source of enrichment, your garden is a perfect playground for foraging. They will happily spend hours snuffling through grass and dirt for bugs. But remember to fence off delicate flower beds, or they might trample your plants!
Hatching Ducks
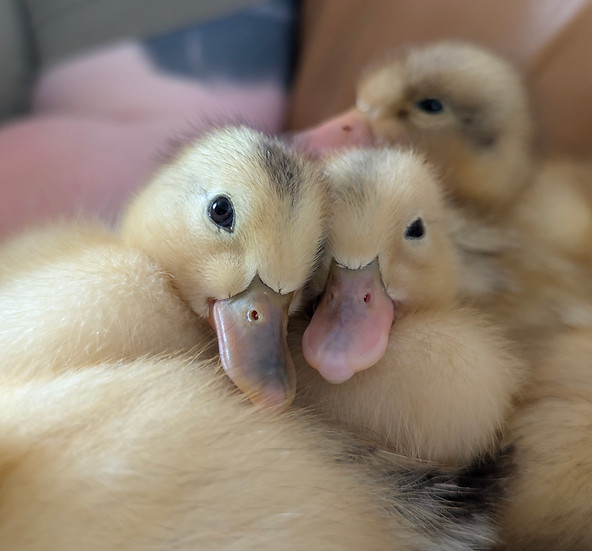
Hatching duck eggs at home is a deeply rewarding educational hobby. It gives families a direct, hands-on lesson in biology and animal care. At the same time, it offers a remarkably fast and efficient sustainable source of fresh, homegrown food.
Since ducklings do not genetically know what their mother looks like, they rely entirely on the first moving thing they see during their first 24 to 48 hours. If the mother duck is there, they bond with her; if you raise them during this window, they will see you as their parent. Even if you miss this imprinting period, older ducklings and adult ducks can still become wonderful friendly pets, though hand-taming them will just take a bit more time.
To hatch responsibly, you must plan ahead for the inevitable male ducklings. Since finding new homes for drakes can be challenging, deciding your next steps early is essential. Many breeders choose to process them for the family table or coordinate with local keepers of ferrets or birds of prey who value ethically raised meat.
What equipment is needed?
To incubate and hatch eggs successfully you will need a reliable incubator, fertilised hatching eggs sourced from a reputable breeder and a brooder setup with a heat source and high protein chick crumb.
If you wish to hatch naturally, you can pop the eggs under a broody duck.
-
Finding a good breeder is key, browse website reviews or seek recommendations in Facebook groups to identify reputable breeders. If a local pick-up isn’t possible, many breeders offer the convenience of doorstep delivery. Don't be afraid to ask to see photos of their packaging methods, as secure packaging is vital for posted eggs. For the best results, ensure your eggs are sent via a fast service like Royal Mail Tracked 24.
-
After collecting or receiving your hatching eggs, let them rest pointed-end down for 24 hours before setting them in the incubator. This is especially vital for posted eggs, as it allows the air sac to settle back into its correct position after being disturbed during transit. Before setting your eggs in the incubator, you should candle each egg to inspect for breakages, cracked eggs should be discarded as they can soon fill you incubator with a putrid stench!
-
Whilst your eggs are resting, it's time to set up your incubator in a room with a stable temperature and no drafts. Set the incubator temperature at 37.5°c and let it run for 24 hours before adding eggs. Using a secondary thermometer, check all 4 corners and the centre of your incubator to ensure it’s holding a steady temperature throughout and working correctly.
-
Bantam breeds incubate for roughly 26 to 28 days, light/heavy breeds incubate for roughly 28 days, while Muscovy have a longer timeline of 35 days. For bantam - heavy breeds, lockdown begins on day 25, where as Muscovy lockdown on day 32.
Pre-incubation essentials
With your incubator up and running smoothly, you are ready to set your eggs. For manual incubators, gently mark an 'X' on one side of each egg with a pencil so you can easily track your turns. If you have an automatic incubator, simply place the eggs inside carefully, as the built-in turner will handle the rotation for you.
Let's set those eggs!
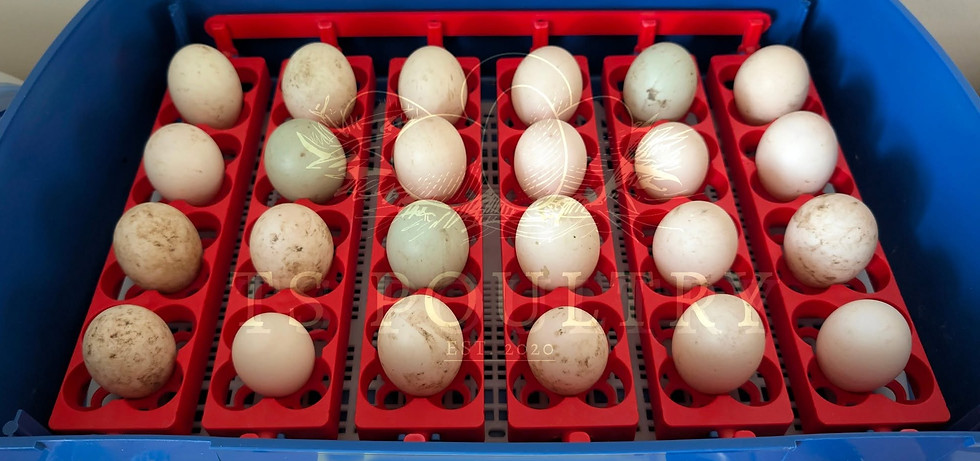
Remember that the day you set your eggs is counted as Day 0. Do not count it as Day 1 until the eggs have been inside for 24 hours, from there, add one day for every full 24 hours that goes by.
Let's set those eggs!
There are numerous methods to follow but we can only speak for our own tried and tested method. Our approach to hatching ducks is very relaxed, and the most enjoyable, beginner friendly method to follow;
After you have set up your incubator and ensure everything is running smoothly, it's time to pop your eggs in the incubator and don't add any water! Other than rotating the eggs if needed, you can sit back and relax for the next 7 days.
On day 7 it's time to candle your eggs. You should see a darkened spot with spider veins, this means the embryo is growing well! If they are clear, you can either give them another week to see if there is any late progression, or you can remove them now. Day 7 is also the time to start adding water. Using a spray bottle, lightly mist the eggs with warm water (as close to 37.5°c as possible). From day 7 to day 13, mist the eggs once per day on a morning.
Day 14 and it's time to start misting your eggs twice per day! Same as you did between day 7 and day 13, lightly mist with 37.5°c water but mist them every morning and night until day 25. You should candle your eggs for a second time and remove any dud/quitters, this lessens the risk of them exploding in the incubator (Trust us when we say it's not a nice smell and very difficult to get rid of!)
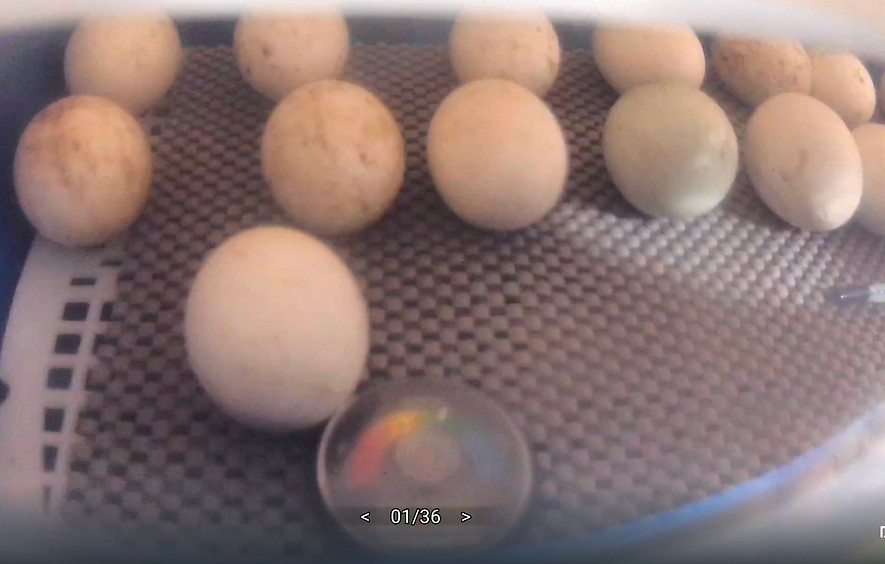
Now we're at day 25, it's time to get your eggs locked down for the foreseeable. Transitioning into the lockdown phase is a straightforward process. First, complete one final candling to remove any failed eggs. Next take out the automatic turning mechanism and line the base of the incubator with non-slip matting. Gently place the eggs back inside the incubator on their sides and add a small amount of water to hold the humidity around 65-70% until they start hatching. From this point forward, the lid must remain firmly closed for the humidity and temperature to remain stable.
Lockdown
Key information: A little water goes a long way! Add water in small increments so you don't spike the humidity. Once your eggs are locked down, try not to open the incubator until necessary as this risks ducklings becoming shrink wrapped.
Using non-slip matting is essential to prevent splayed ley. This material gives freshly hatched ducklings the grip they need to stand properly, preventing unnecessary developmental issues.
Hatching is about to begin!
Watching a duckling hatch is a truly amazing experience. Right before the big day, the little bird shifts its position inside the egg. Once it is in place, it takes its very first breath of air by piercing the inner membrane, a vital milestone known as internal pipping.
After the internal pip, the duckling rests for several hours to adjust to breathing. Once its strength returns, it begins the externally pip, this is where the duckling uses its specialised egg tooth to crack a hole in the hard outer shell. Because this progression takes anywhere from 12 to 24 hours, you must remain patient and avoid intervening. Patience is key with hatching!
Once the external hole is made, the duckling enters the zipping phase. Using its egg tooth like a tiny tin opener, the duckling rotates inside the egg and chips away around the wide end of the shell. Once it cuts a nearly perfect circle, the duckling gives a powerful push with its legs, pops the top off, and kicks itself completely free!
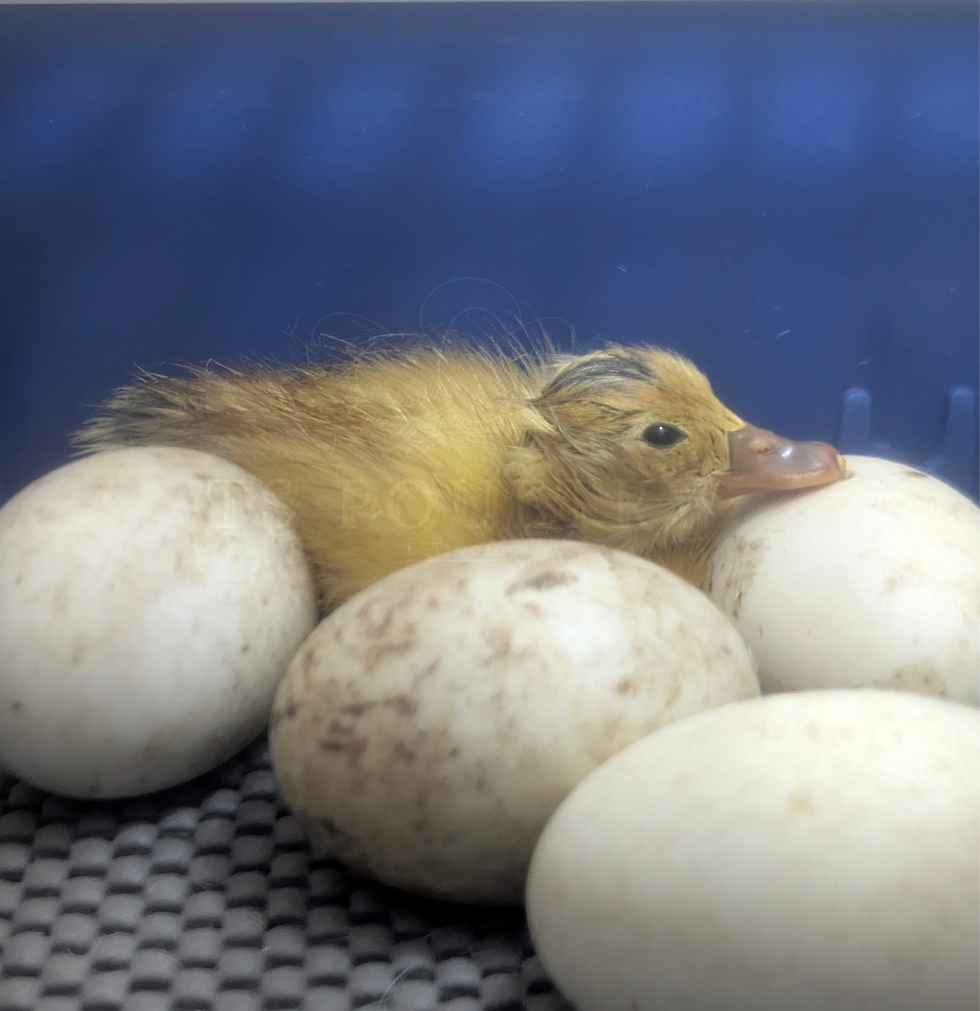
Keep freshly hatched ducklings inside the incubator until they are completely dry and fluffy, which can take up to 48 hours. Don't worry about feeding them right away, they are still living off the nutrients from the yolk sac they absorbed just before hatching. It is crucial to keep the incubator lid firmly closed during this time. Opening it drops the humidity quickly, which can cause the remaining unhatched ducklings to become shrink-wrapped inside their shells.
Hatching via a broody duck
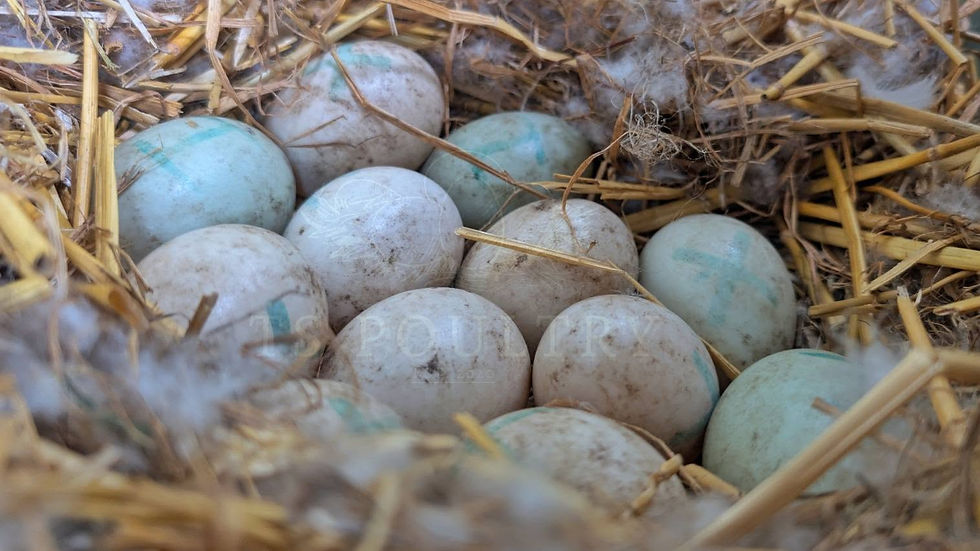
Letting a broody duck handle the hatching is an entirely hands-off experience. You can either let your duck sit on her own clutch or wait until she goes broody and slip fertilised eggs underneath her. Once she settles in, you can simply sit back and relax for the next 26 or more days while the mother hen does all the hard work.
Although bantam breeds and Muscovys have a strong reputation for excellent brooding and maternal instincts, individual capabilities vary. Breed characteristics are never a guarantee; some birds may lack the desire to sit on a clutch, while others may simply not excel at mothering.
Key information: Even if you choose the natural route, we highly recommend keeping an incubator and brooder setup on standby. If your duck decides to abandon her eggs or ducklings mid-way through, you will be fully prepared to step in and save the hatch immediately.
Brooder Setup & Duckling Care
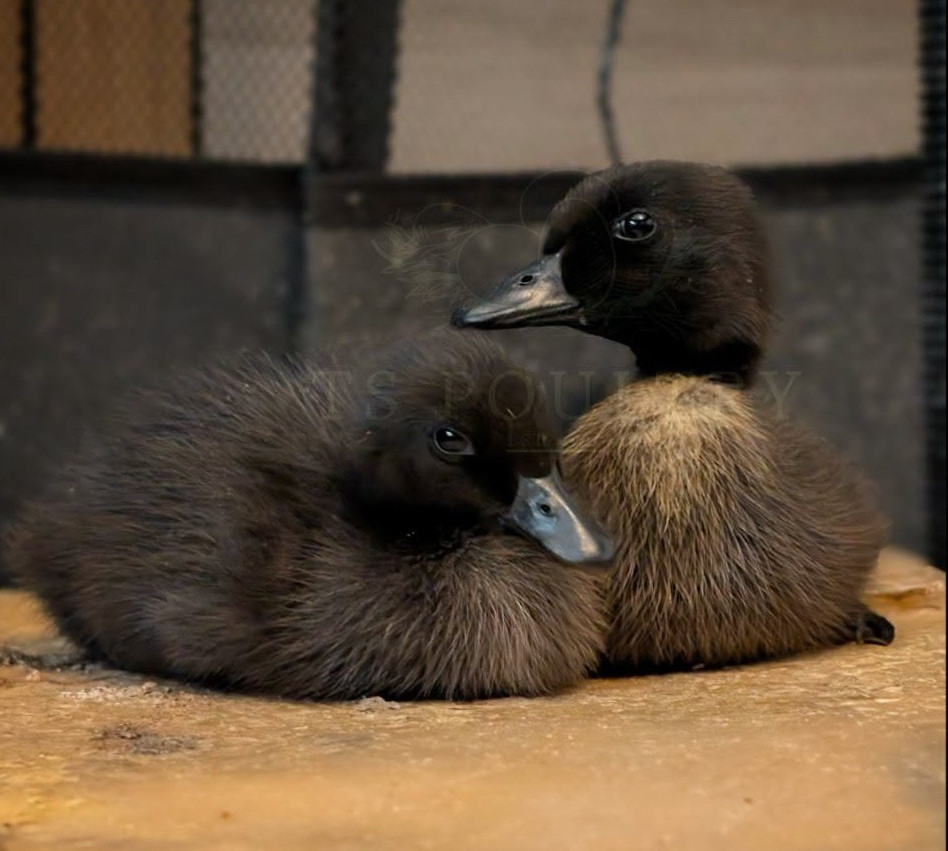
Before your ducklings are ready to leave the incubator, you must have their brooder pen fully prepared with the heat source running for a minimum of 2 hours to ensure it is working correctly.
Brooder Essentials:
Housing
The housing/ pen can be a folding mesh animal pen, large guinea pig cage or a purpose built wooden brooder. Make sure to place the enclosure in a draft-free spot. However, keep in mind that ducklings are incredibly messy and wet animals! They love to play in their water and constantly filter it through their bills, so pick an area that can handle some moisture.
Flooring
Non slip matting is essential to prevent splayed leg. This material gives freshly hatched chicks the grip they need to stand properly, preventing unnecessary developmental issues.
Heat
Ducklings need a reliable heat source to survive, as hypothermia can set in quickly and be fatal. Generally, keepers choose between electric heat plates and heat bulbs. However, because we only use electric heat plates, we can only offer advice on that method. We highly recommend the Brinsea EcoGlow heat plate. When setting it up, adjust the height so your smallest duckling can comfortably stand underneath and touch its back against the warm plate.
Food & Water
For the first four weeks, ducklings need a high-protein starter crumb (20%). To support their rapid growth, ducklings need a high-protein starter diet. It is especially vital that this feed is supplemented with Niacin (Vitamin B3) to prevent leg deformities and ensure strong bone development. After this, you can transition them to grower pellets, or bypass that stage entirely to start moving them onto layer pellets. We choose to skip the grower pellets and transition our ducklings straight to layer pellets.
Ducklings require continuous access to food and water, including overnight. Unlike chickens and quail, ducklings have excellent low-light vision and will continue eating and drinking throughout the night. Because they filter water through the sides of their bills, their drinking habits are highly messy; placing a drainage tray underneath the drinker will help contain the spills. Ensure water is room temperature initially to protect their delicate internal systems.
Light
For the first 4 weeks, ducklings need low-light at night. You can provide this using either a lamp or a smart bulb dimmed to 0-1%. This will ensure they can find their way back to their heat source at all times.
Moving your ducklings from the incubator to the brooder must be done with care - they may be small and freshly hatched, but they can be very fast!
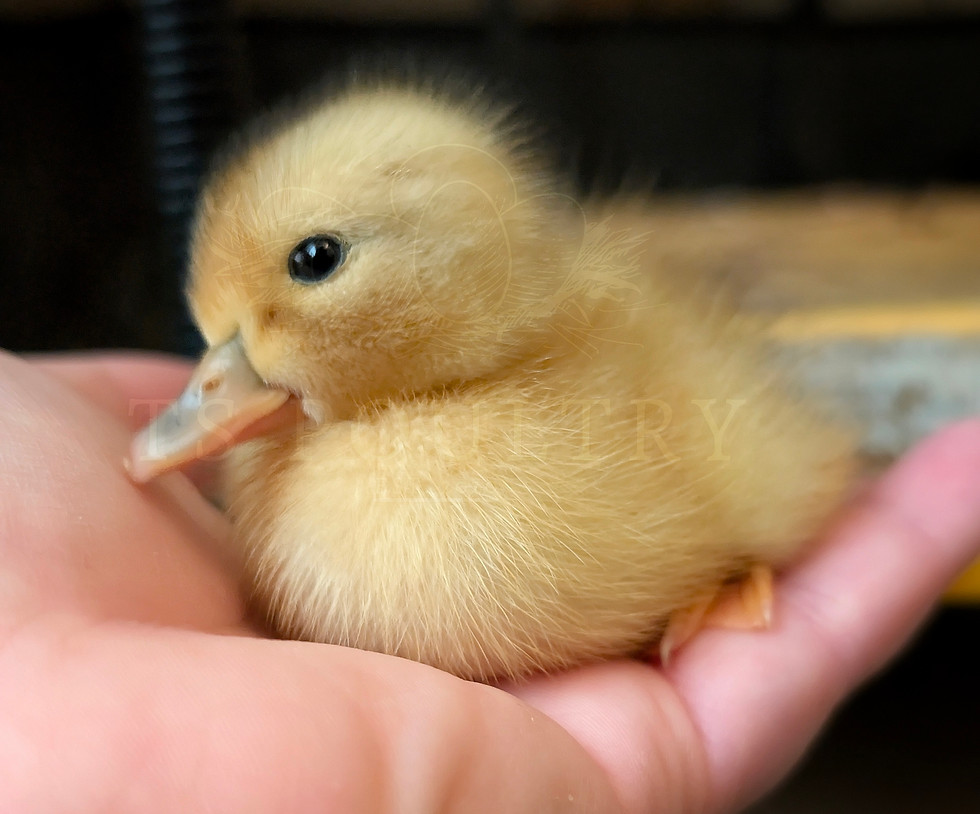
Before transferring ducklings from the incubator to the brooder, perform a quick, head-to-toe health inspection on each bird:
-
Check both eyes are open, clean and bright. (Ducklings moved to the brooder within 12 hours of hatching may seem lethargic due to exhaustion from recently hatching. Watch them closely for the next 24 hours for signs of recovery).
-
Ensure the upper and lower bill line up perfectly, checking for scissor beak, overbites, or underbites. (While beak deformities cannot be cured, affected birds can live happy, fulfilled lives if they can eat and drink independently. Do not breed birds with this condition, as the trait may be genetic).
-
Check that the legs are straight and positioned directly beneath the body, looking out for curled toes or splayed legs. (Splayed legs and curled toes can be corrected if caught early).
-
Check each ducklings stance and mobility. (Watch the duckling to confirm it stands fully upright and moves around with ease).
Once your ducklings pass their health checks, place them into the brooder with constant access to a tray of crumb and fresh, room temperature water. Let them explore freely for 10 minutes before gently guiding them under the heat so they learn exactly where to find the warmth. Since ducklings imprint within the first 24-48 hours, they will likely shout for you as soon as you're out of sight. If this happens, leave them for 5-10 minutes to see if they settle, if they don't, gently guide them under the heat again and repeat the process.
Growers, Adulthood & The Highlights Of Keeping Ducks
The grower stage for ducks ranges from 4 to 24 weeks of age, depending on the breed. During this period, ducklings transition from the heated brooder to developing adult feathers and preparing for maturity.
As the ducklings grow, between weeks 5 and 10 their fluffy down is replaced by juvenile feathers. During this transition, they often look a bit scruffy and 'awkward.' By the time this phase is over, the young ducks are typically fully grown. Between 10 and 16 weeks, young ducks swap their awkward juvenile look for beautiful adult plumage. This milestone brings a clear vocal shift, as females start making a loud, distinct quack, and males develop a quiet, raspy voice. Most domestic ducks begin laying eggs between 18 and 24 weeks old, some slower maturing breeds like Muscovy's may wait until they are 30 weeks old.
While rapidly growing ducklings require high-protein crumb, fully grown ducks thrive on a standard diet. An adult grower or layer feed containing roughly 16% protein provides the perfect nutritional balance. Ducks are highly social flock birds that naturally establish their own social hierarchy. Upon reaching adulthood, they actively seek out mating partners and suitable nesting sites.
Duck mating behaviour can look aggressive. To mate, the drake holds the female down by the back of her neck while standing on her back. Although mating in the water may look more hazardous, it is actually much safer for the female. The water supports the male's weight, which protects the female from the leg injuries that can happen when mating on land.
For detailed information on duck nesting areas, refer to our Housing Essentials guide.
Explore our Care & Enrichment guide to learn more about adult duck dietary needs, safe treats, and enrichment ideas.
Highlights Of Keeping Ducks
Bantam Breeds;
-
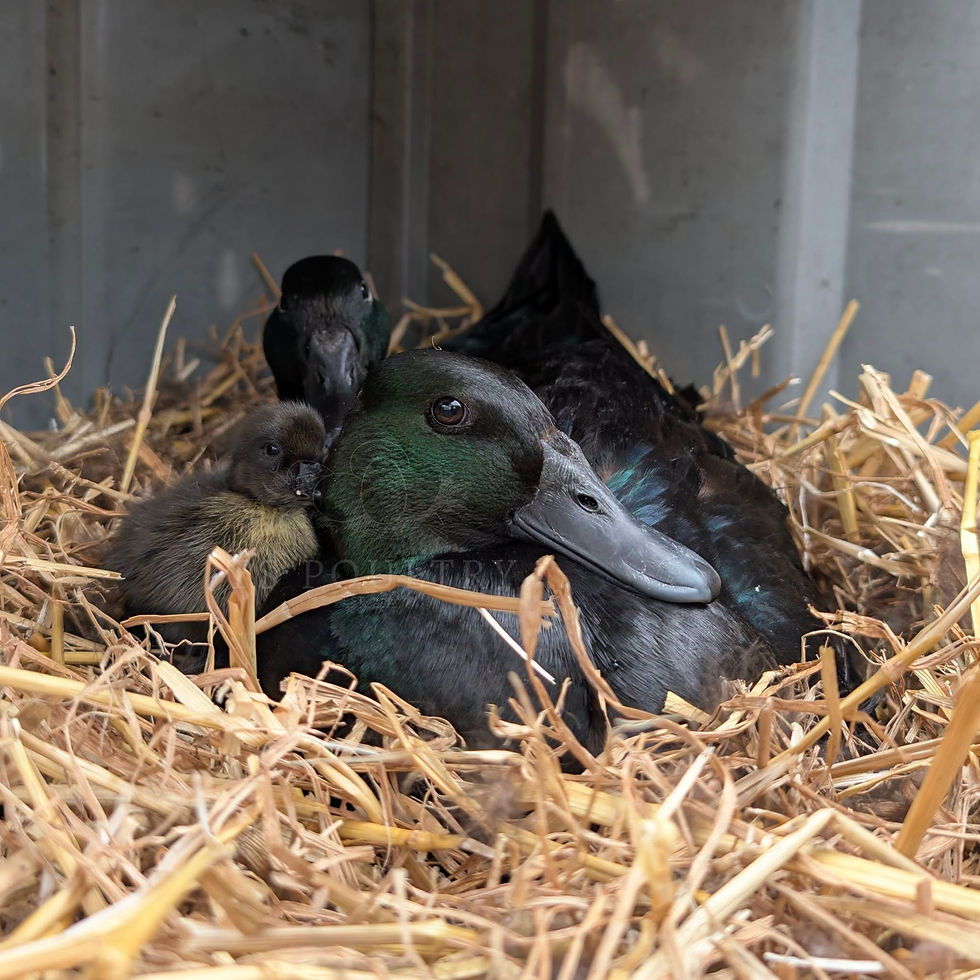
Faster maturing: They can begin laying delicious nutritious eggs at just 18 weeks old. (This can vary between breeds, for example; Black East Indians are seasonal layers so tend to start laying in the spring and finish they season by Summer).
-
Lower feed costs: Bantam ducks eat a fraction of the daily food required by heavy breeds, significantly lowering your long-term feed bills. Because of their small size, they can easily meet a large portion of their dietary needs by foraging for bugs and greens in smaller spaces.
-
Less mess and damage: Smaller ducks = lighter footprints. Heavy ducks can quickly trample you flower beds and turn grass into mud, bantams are light enough to forage whilst causing minimal damage. Smaller bodies also mean significantly less manure, keeping your garden cleaner.
-
Broodies: Bantam breeds tend to make fantastic broodies! Whilst this can differ between each bird, they are commonly known for being fantastic at hatching and raising their own.
Light/ Heavy Breeds;
-
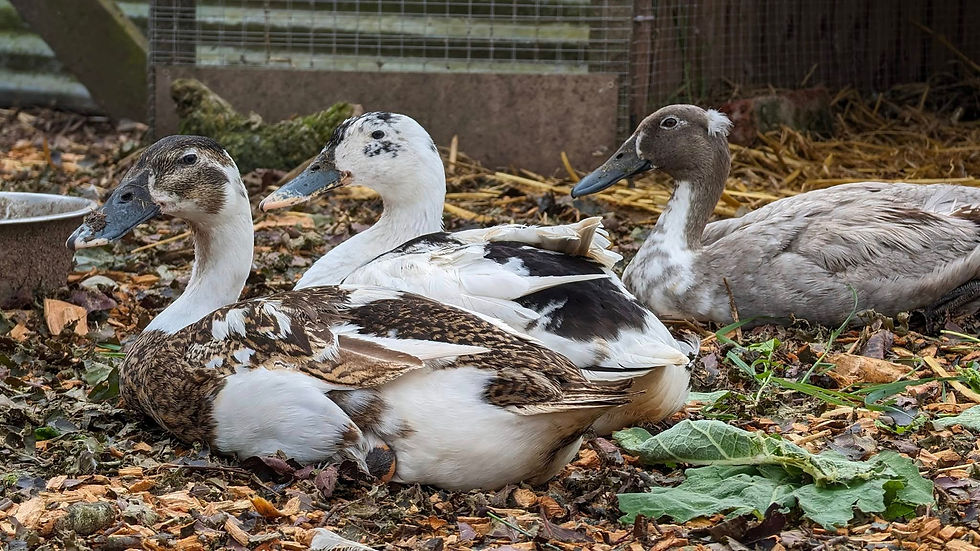
Entertaining personalities: Light breeds like Indian Runners have an iconic bowling pin stance and a highly entertaining running style that adds unique visual appeal to a garden.
-
Superior egg production: Light breeds like Indian Runners can lay up to 300 large eggs per year, significantly outperforming bantam breeds, which lay infrequently or only seasonally. The eggs from light and heavy breeds are much larger, making them far more practical for baking, cooking, or selling.
-
No flight risk: Most heavy and light duck breeds are too heavy to fly, meaning they are easily contained by standard fencing. Bantam ducks are excellent fliers and will easily escape over fences unless their wings are regularly clipped or their run is fully enclosed with a roof net.
-
Meat production: Heavy breeds like the Pekin or Rouen are purpose-bred for meat, providing a sustainable, home-raised food source that small bantam breeds simply cannot offer.
3 Key Reasons For Keeping Ducks
-
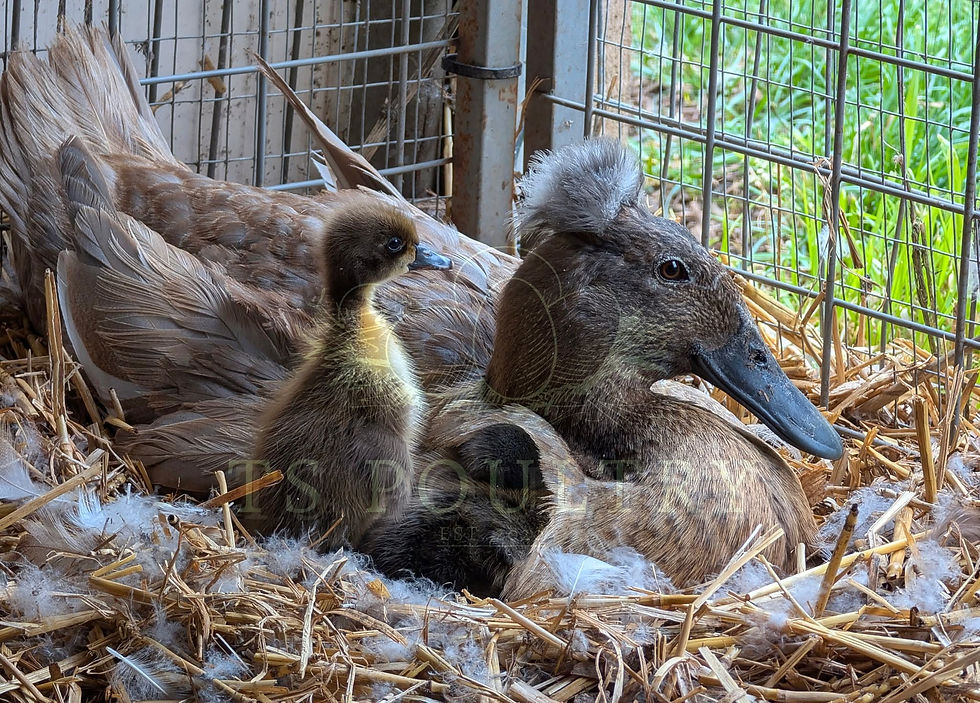
Less broody: Although broodiness is less common in light and heavy duck breeds (with the exception of the Muscovy), maternal instincts vary by the individual. We have an Indian Runner who has successfully hatched and raised her own ducklings, and regularly wants to brood.
-
Eggs - Numerous duck breeds outperform chickens in egg production, yielding large, nutrient rich eggs year round. These eggs are prized for their richer yolks and higher fat content.
-
Natural pest control - Ducks are natural-born foragers that love gobbling up slugs, snails, beetles, and mosquito larvae, making them great garden helpers.
-
Nutrient rich fertilizer - Duck manure contains high levels of nitrogen, phosphorus, and potassium. It is classed as a cold manure which means it can be applied directly to the soil without burning your plants. Their pond/ pool water is also a fantastic fertilizer, known as liquid gold! We tested its effectiveness by splitting our vegetable beds, watering half with rainwater and half with duck pond water - 2 weeks later everything watered with duck pond water was double the size of rain watered plants.
Look out for our handy DIY duck hacks, flock health tips, and much more in our blogs!