
All Things Quail
Everything you need to start your quail journey with confidence
There are multiple species of quail available within the UK, but we can only offer advice on the species we actively keep - Coturnix & Chinese Painted.
Quail are an increasingly popular urban alternative to traditional poultry. Their smaller housing requirements make them an ideal choice for gardens with limited space, and since they're much quieter than chickens and ducks - you won't upset your neighbours with early morning crowing! Small but mighty, quail lay highly nutritious eggs, often called a superfood because they contain higher levels of potassium and iron than chicken eggs.
In the absence of formal UK legislation, the quail community relies on a general consensus established by experienced breeders and keepers. Some information can vary between breeders but the information we provide is based solely on our tried and tested methods of keeping, hatching & raising quail. We believe every bird deserves the best. By providing exceptional care, we’re able to breed healthy quail known for their fantastic temperaments.




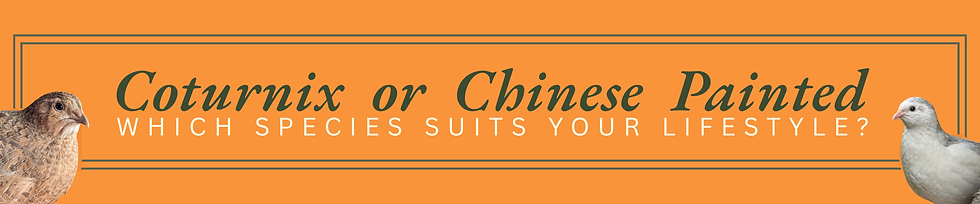
Coturnix
Coturnix are fantastic, fast growing birds used for both meat and egg production, reaching full maturity in just 6 - 8 weeks. They are available in many beautiful colour variations, weighing between 250g and 500g+. Depending on your flock size and available space, their housing can be adapted to almost any space!
Coturnix are ideal for beginners and children because they're hardy, quiet, and less skittish than some species of quail. Since they're not much bigger than a jacket potato, they are easy for small hands to hold and look after them, this makes it simple for children to help out with chores like cleaning or collecting eggs!
If your goal is simply to harvest fresh, delicious eggs, you can skip the males entirely! Female quail lay fantastically on their own. The only reason to add a male into your flock is if you want fertilised eggs to hatch into chicks. If you want males, we recommend a ratio of 1 male to every 5 females. This keeps your girls safe and healthy by spreading out the attention, preventing any single hen from getting over-mated. For female only groups, always keep a minimum of 3 birds. Quail are incredibly social creatures, if you only have a pair and one passes away, the survivor will be left completely alone and stressed.
Chinese Painted
As the worlds smallest quail species, Chinese Painted Quail (also known as King Quail and wrongly, Button Quail) are primarily bred for their compact, ornamental appeal. Because they are low-maintenance, they are frequently housed at the bottom of aviaries to serve as "cleaning crew," foraging for seeds dropped by finches or budgies.
Reaching maturity in 6–8 weeks, they share the fast growth rate of Coturnix and offer a wide range of beautiful colours. They are small-scale, weighing less than 100g, while their eggs are a dainty 6g! These eggs are most commonly used for hatching rather than eating, although they can make the perfect sized eggs for summer salads.
CPQ are naturally skittish, which can be challenging for those new to quail. Because they prefer not to be handled or petted, they are best enjoyed as ornamental birds rather than interactive pets. Unlike Coturnix, Chinese Painted males are much gentler with females. You can successfully keep them in pairs or larger mixed groups so long as your males never outnumber your females. If you choose to have multiple males sharing a setup, you must provide plenty of extra space to lessen the chance of fighting.
Coturnix and Chinese Painted Quail can lay over 200 eggs annually. You can increase this number further by using supplemental lighting to extend their laying season, but be aware that this practice will shorten their overall lifespan.
Housing Essentials
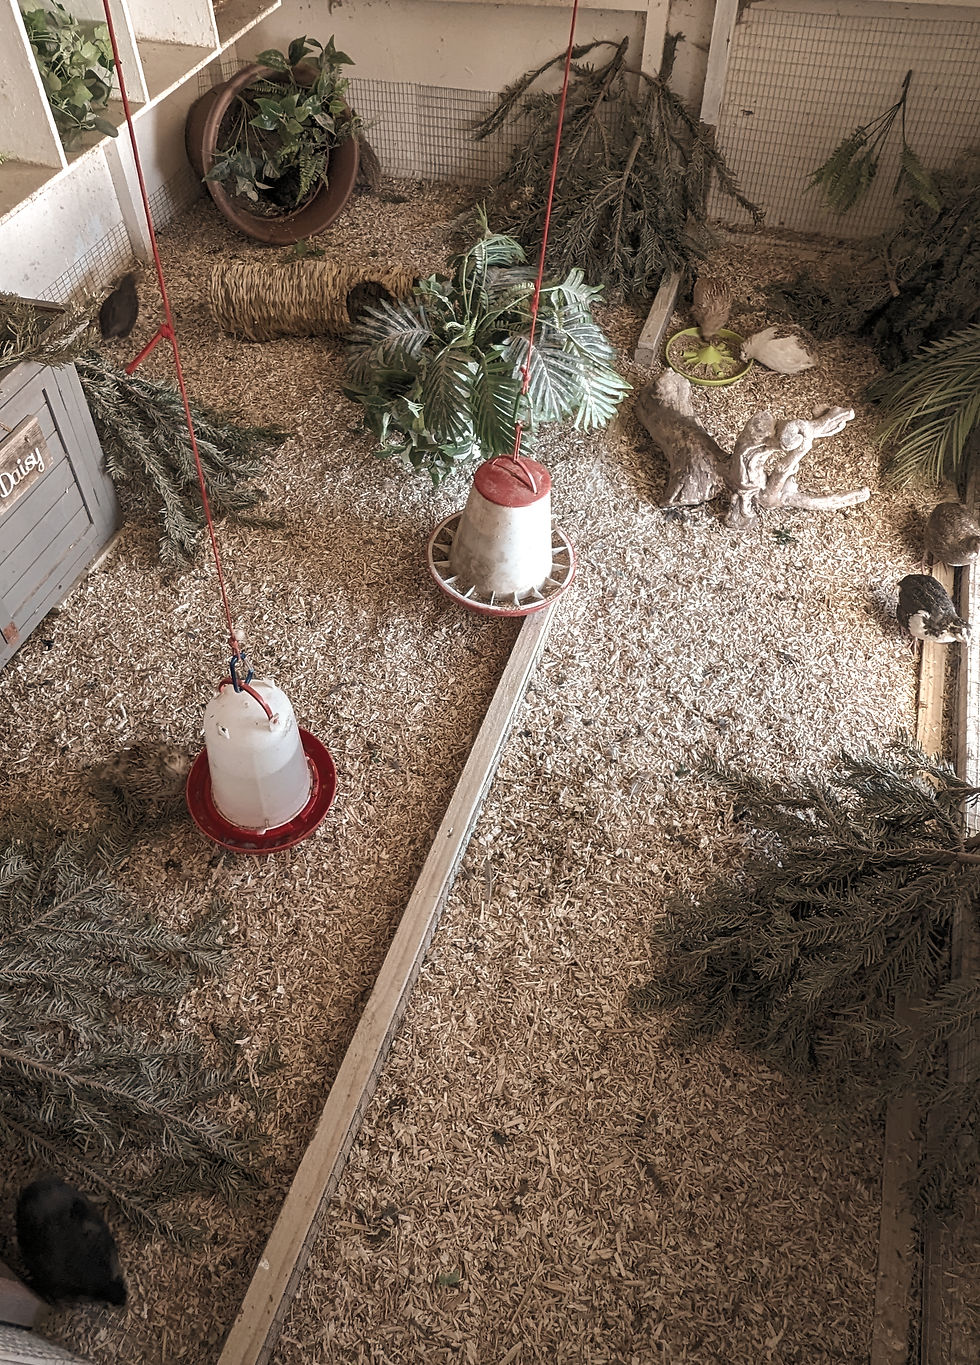
Quail housing is versatile, setups can range from 5ft rabbit hutches to spacious aviaries. Even a 4ft+ vivarium is a great option for Chinese Painted quail, provided you don't over stock it.
When choosing a quail pen, remember that birds often flush when startled (bolting upwards) - without proper precautions, they can suffer serious or even fatal head injuries.
-
Space requirements: The minimum recommended space is 1sq foot per adult bird. If you can offer 2sq foot of space per bird - even better!
-
Vertical safety: To prevent head injuries from flushing, housing should be low profile - approx. 15-18" tall or 6ft+ tall. You can use foam to cushion the ceiling of any setup if you wish to, this adds an extra level of protection.
-
Predator proofing: Quail are highly vulnerable to rats, 100% predator-proofing of all enclosures is a non-negotiable safety requirement. Standard chicken wire is inadequate for quail as rats can easily manipulate the holes to squeeze through, for maximum security use 16 gauge 0.5" square mesh. Any open mesh walls of your setup will need a 12" kickboard around the base of all walls, this protects your quail if they lay against the mesh - too often have keepers overlooked this detail and had rats, cats, even wild birds injuring their quail through the mesh.
-
Shelter & weather: Adult quail are quite hardy but vulnerable to damp and drafts. To keep them dry, face the back of their enclosure toward the West, as that’s where most UK wind and rain comes from. Since quail won’t instinctively go inside at night like chickens do, it’s highly beneficial to install a solid roof (using OSB, plywood, or polycarbonate) over the entire setup to ensure they stay protected.

Care & Enrichment
-
Diet: Since quail grow at an incredibly fast rate, reaching maturity and laying eggs in only 6 to 8 short weeks, they require a high protein diet (25%+ as chicks and 20% as adults). The high protein diet supports their intense muscle, skeletal and feather development.
Recommended brands of quail feed: Heygates, Marriages & Oakwoods.
-
Water: Make sure your quail always have access to fresh, clean water. While standard poultry drinkers work great, you can also build your own gravity-fed system for a constant supply. For more details on how we build our own auto-drinkers, head over to our 'Blog' section.
-
Grit: Since quail don't have teeth to chew, they need grit to help their gizzard (a powerful, muscular organ) grind and break down their food manually. Having a source of grit available at all times helps prevent impacted crop.
Key Information: By providing a sand bath, you allow your quail to forage for grit naturally. You can also supplement with crushed oyster shell, which serves a dual purpose: it helps the gizzard grind food and provides the essential calcium needed for strong eggshells.
-
Nesting: While providing dedicated nesting boxes can be beneficial, quail exhibit different laying habits than chickens. Rather than consistently using a single nest, they often scatter eggs across the floor of their setup. However, you can encourage more predictable laying by providing multiple secluded areas. Quail instinctively seek out low-light, enclosed areas where they feel protected from potential predators. Once they identify a spot that offers a high sense of security, they will typically adopt it as their primary laying space.
-
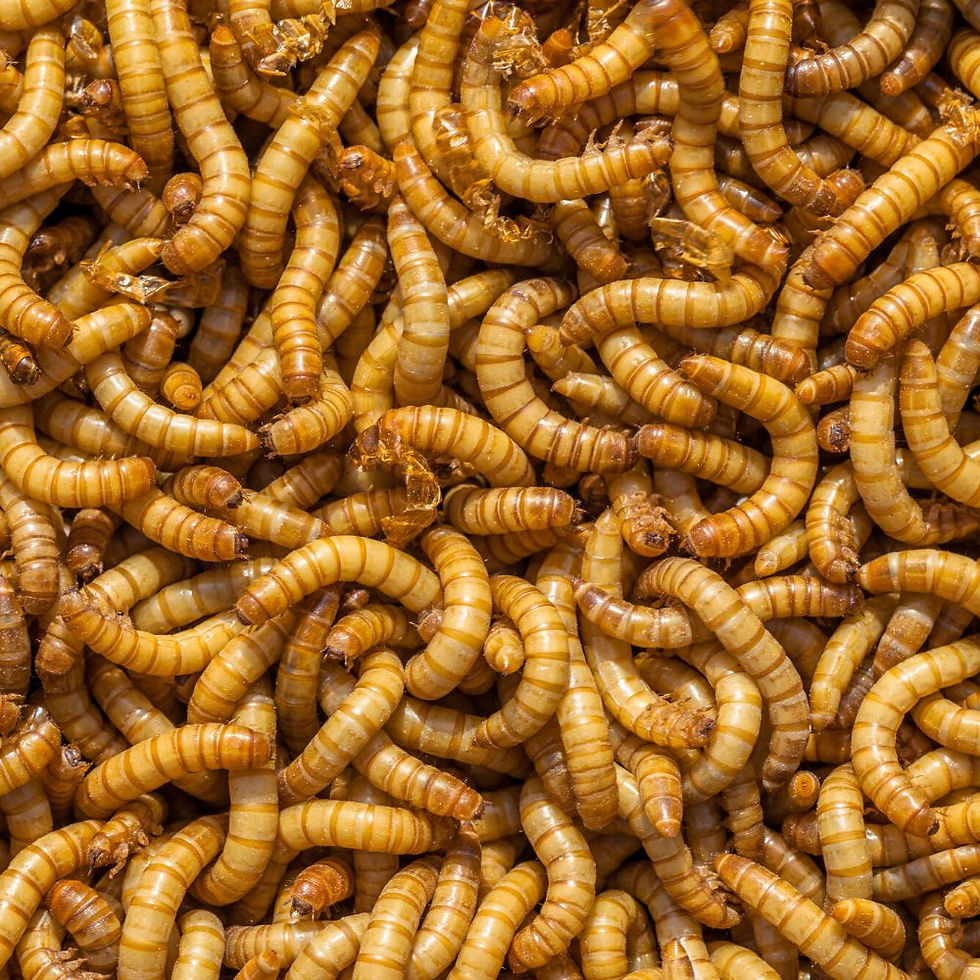
Treats: Popular quail treats include vegetables (especially leafy greens), fruit, super seeds & live mealworms.
Key information: Feeding dried mealworms to poultry (including quail) that produce eggs or meat for human consumption is illegal under DEFRA regulations. Feeding live mealworms is legal.
-
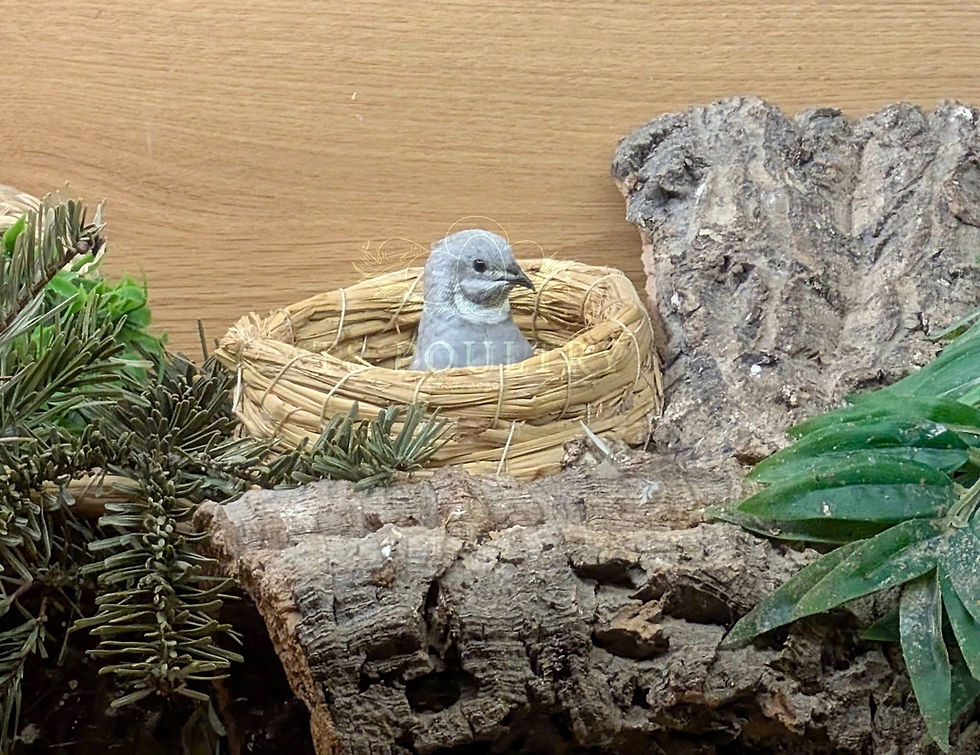
Enrichment: Sand baths are vital for keeping feathers healthy, but you can also use them to spark their natural foraging instincts by scattering seeds or live mealworms inside. To further encourage natural behaviours, add décor such as logs, rocks, conifer branches, and both live or artificial plants. To help your quail feel safe, add hiding spots like wicker baskets, cardboard boxes and tunnels, rearranging their décor regularly will spark their curiosity keeping them entertained.
-
Finding a good breeder is key, browse website reviews or seek recommendations in Facebook groups to identify reputable breeders. If a local pick-up isn’t possible, many breeders offer the convenience of doorstep delivery. Don't be afraid to ask to see photos of their packaging methods, as secure packaging is vital for posted eggs. For the best results, ensure your eggs are sent via a fast service like Royal Mail Tracked 24.
-
After collecting or receiving your hatching eggs, let them rest pointed-end down for 24 hours before setting them in the incubator. This is especially vital for posted eggs, as it allows the air sac to settle back into its correct position after being disturbed during transit. Before setting your eggs in the incubator, you should candle each egg to inspect for breakages, cracked eggs should be discarded as they can soon fill you incubator with a putrid stench!
-
Whilst your eggs are resting, it's time to set up your incubator in a room with a stable temperature and no drafts. Set the incubator temperature at 37.5°c and let it run for 24 hours before adding eggs. Using a secondary thermometer, check all 4 corners and the centre of your incubator to ensure it’s holding a steady temperature throughout and working correctly.
-
Coturnix quail incubate for roughly 18 days, while Chinese Painted quail have a slightly shorter timeline of 16 days. For both species, lockdown begins on day 14.
-
Decide which incubation and hatching method you wish to follow, there are 3 common methods used for hatching quail;
-
The full wet hatch method involves keeping humidity at a steady 40-50% by adding water throughout the cycle, then increasing the humidity level to 60-65% at lockdown.
-
Dry incubation and wet hatching involves no water until day 14, you then add water to increase the humidity level to 60-65% at lockdown.
-
In our opinion, the full dry hatch method is the easiest, most enjoyable, and beginner-friendly way to hatch eggs. You simply don't add any water throughout the entire process and completely ignore the humidity levels - which naturally float between 15% and 40% depending on the season. Once the chicks begin to pip and hatch, their own moisture will naturally boost the humidity for you.
-
Pre-incubation essentials
Hatching Quail
Hatching quail offers a unique, hands-on experience right at home, allowing the whole family to witness the incredible cycle of life. It’s a popular educational hobby that teaches responsibility and biology while providing a fast, efficient way to produce your own food.
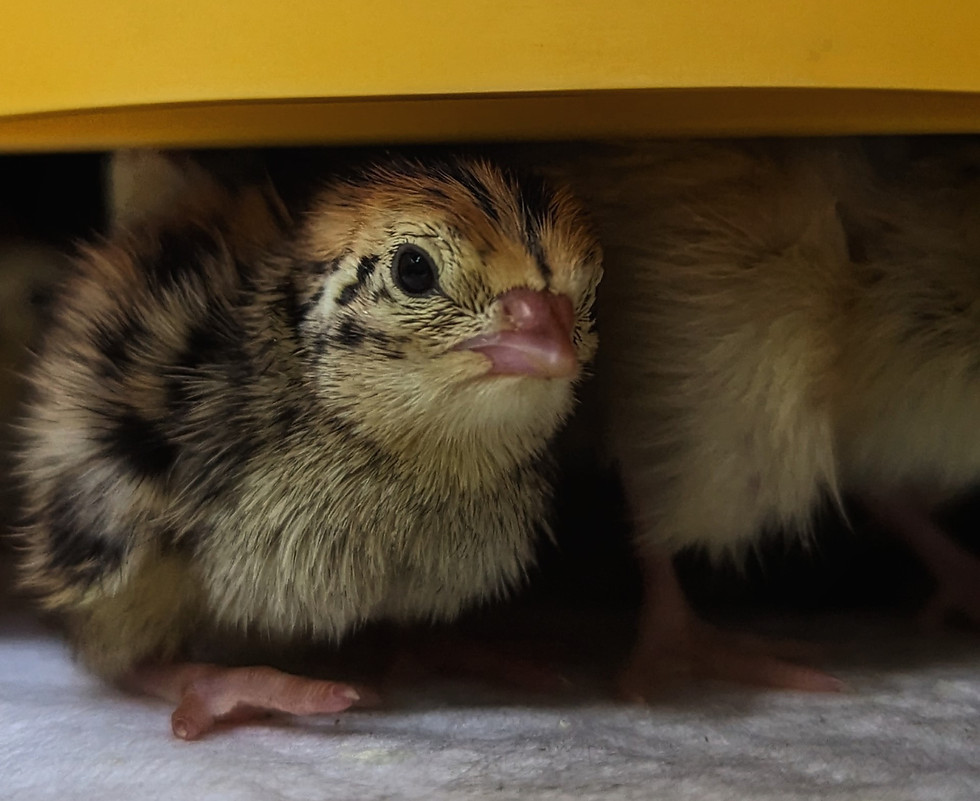
Responsible hatching means planning for the inevitable male chicks. Because male quail are difficult to rehome, you must decide on a course of action beforehand. This typically involves home processing for food or coordinating with local animal keepers—such as those with birds of prey or ferrets—who require ethically sourced meat.
What equipment is needed?
To incubate and hatch eggs successfully you will need a reliable incubator, fertilised hatching eggs sourced from a reputable breeder and a brooder setup with a heat source and high protein chick crumb.
Let's set those eggs!
With your incubator up and running smoothly, you are ready to set your eggs. For manual incubators, gently mark an 'X' on one side of each egg with a pencil so you can easily track your turns. If you have an automatic incubator, simply place the eggs inside carefully, as the built-in turner will handle the rotation for you.
Choosing the full dry hatch method allows you to leave the incubator undisturbed until day 7 (If you don't want to candle day 7, you can wait to candle at lockdown on day 14 ). At this stage, you can easily check development through a process called candling. Simply hold a phone torch or medical pen torch against the rounded end of each egg, viable embryos will show a small red spot with tiny spider veins. Clear eggs are either infertile or "quitters." Eggs can stop developing due to many reasons, such as rough shipping, older eggs, hairline cracks, or incubator issues.
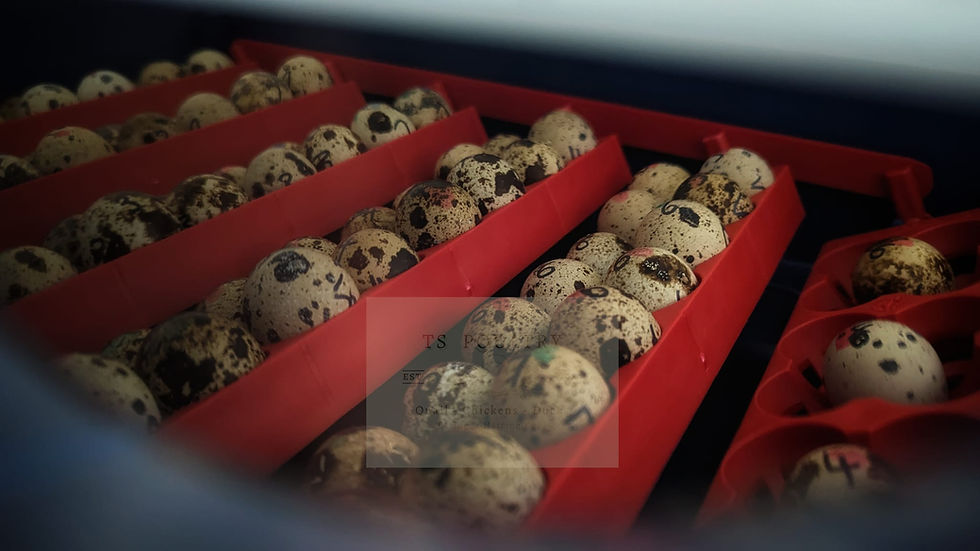
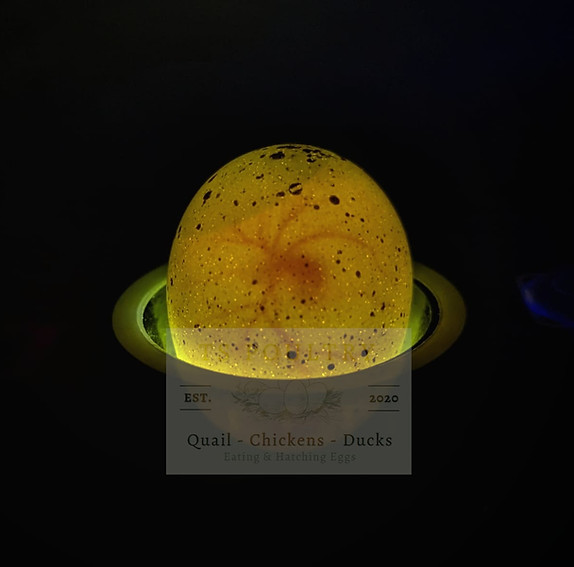
Remember that the day you set your eggs is counted as Day 0. Do not count it as Day 1 until the eggs have been inside for 24 hours, from there, add one day for every full 24 hours that goes by.
Following your day 7 candling check, the incubator can remain undisturbed until lockdown on day 14. Transitioning into the lockdown phase is a straightforward process. First, complete an optional final candling to remove any failed eggs. Next, take out the automatic turning mechanism and line the base of the incubator with non-slip matting. Gently place the eggs back inside on their sides. From this point forward, the lid must remain firmly closed for the humidity and temperature to remain stable.
Using non-slip matting is essential to prevent splayed leg. This material gives freshly hatched chicks the grip they need to stand properly, preventing unnecessary developmental issues.
Hatching is about to begin!
The hatching process is truly incredible to witness. As hatch day approaches, the tiny chick repositions itself inside the shell. Once it is in the correct position, it will internally pip—this is when the chick pierces the inner membrane to take its very first breath of air from the egg's air sac.
Whilst day 7 candling reveals distinct veins and movement, day 14 candling is very different. By this point, the developing chick takes up nearly all the space inside the shell. As a result, the egg will look mostly dark, and you will not be able to see a great deal of detail.
Lockdown
Following the internal pip, the chick will rest for several hours while it takes its first breath of air. Once it gains enough strength, it will perform an external pip. This is when the chick uses its sharp egg tooth to punch a tiny, visible crack or hole through the hard outer shell. It can take anywhere from 12 to 24 hours to transition between these two stages, so patience is key.
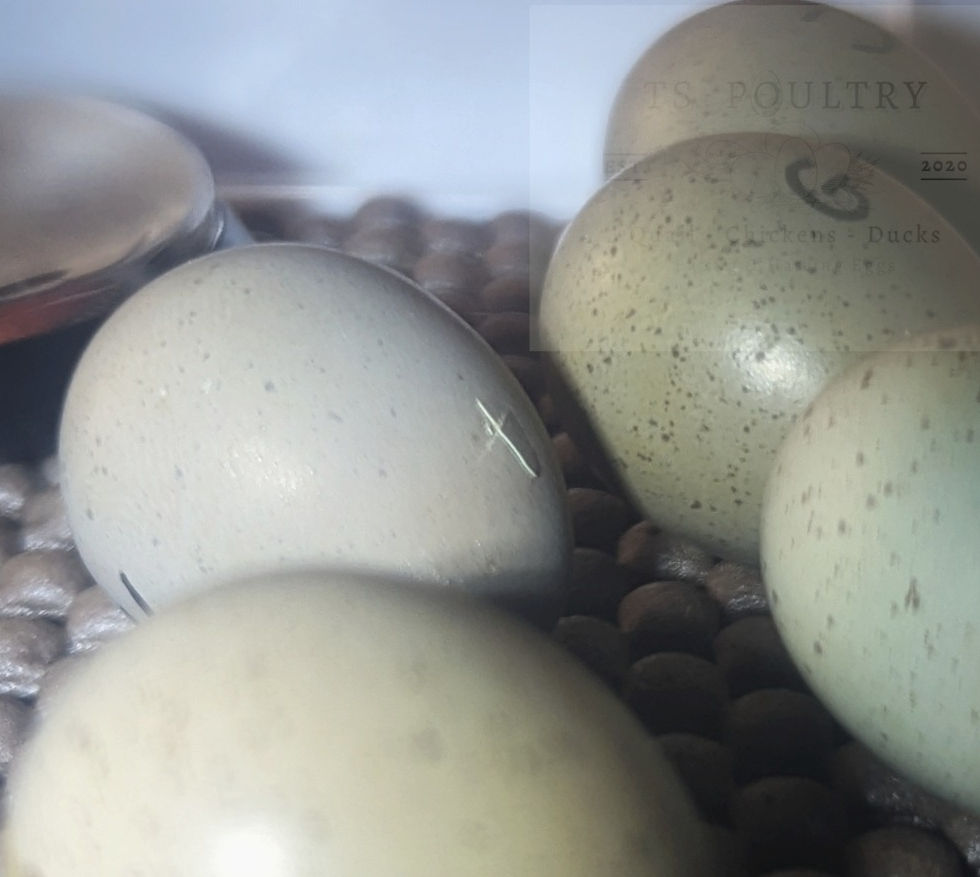
Once the external pip is complete, the chick enters the zipping stage. Using its egg tooth like a tiny tin opener, the chick rotates inside the egg and chips away around the wide end of the shell. After cutting a nearly perfect circle, the chick will give a mighty push with its legs, pop the shell top off the egg, and kick itself free.
Freshly hatched chicks must stay inside the incubator until they are completely dry and fluffy, they can stay in there for up to 48 hours before removing them. The chicks do not need food or water immediately, as they are living off the yolk sac they absorbed right before hatching. Keeping the incubator lid firmly closed protects the remaining unhatched eggs from a sudden drop in humidity, this reduces the risk of chicks becoming shrink wrapped.
Brooder Setup & Chick Care
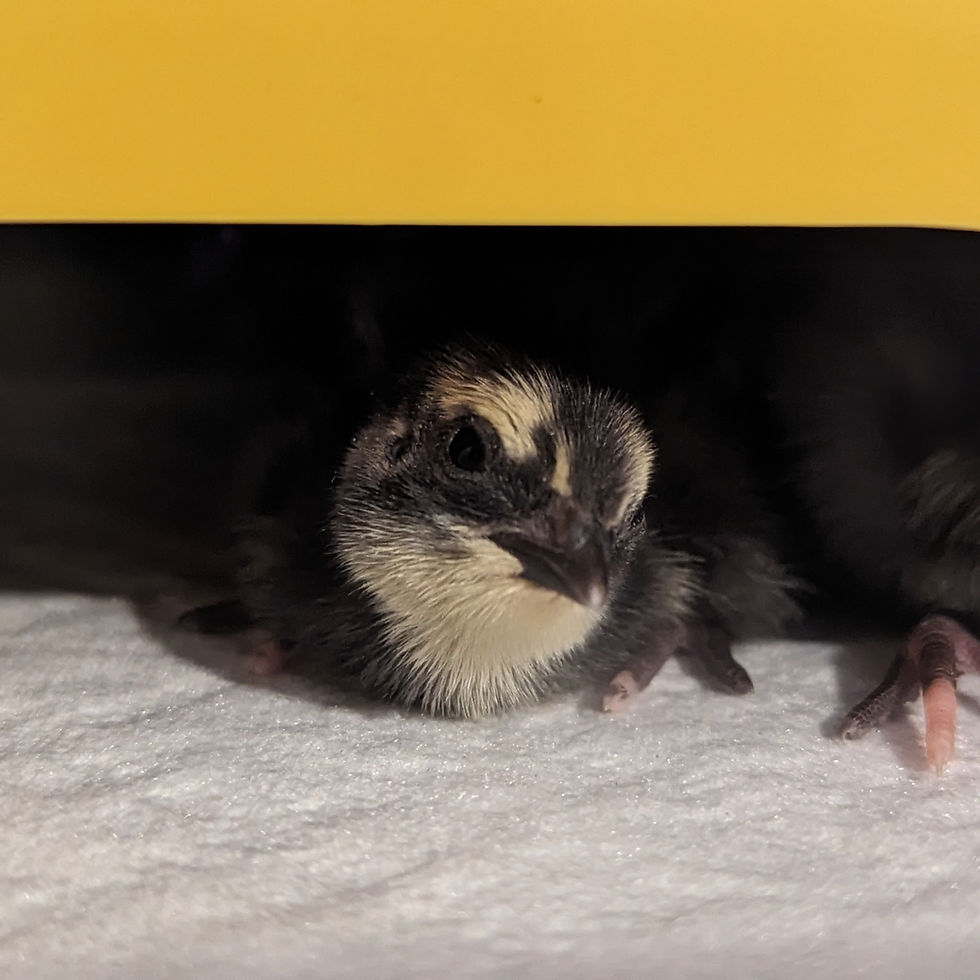
Before your chicks are ready to leave the incubator, you must have their brooder pen fully prepared with the heat source running for a minimum of 2 hours to ensure it is working correctly.
Housing
Brooder Essentials:
The housing/ pen can be a folding mesh animal pen, a guinea pig cage or a large hamster cage. The enclosure will need to be placed in a draft free area, they will also need a mesh lid to prevent escapees - they learn to fly at a very early age!
Flooring
Non slip matting is essential to prevent splayed leg. This material gives freshly hatched chicks the grip they need to stand properly, preventing unnecessary developmental issues.
Heat
Chicks require a reliable heat source to survive as hypothermia can kill them rapidly. You can choose between two main heating methods: an electric heat plate or heat bulbs. We highly recommend using a Brinsea EcoGlow heat plate, all 4 corners of the heat plate will need lowering to its lowest setting - this ensures the chicks can push their backs against the heat.
We can only advise on electric heat plates as we don't use bulbs.
Quail chicks demand a high-protein starter crumb containing a minimum of 25% protein during their first five weeks. Recommended brands, such as, Heygates, Marriages & Oakwoods supply quail specific crumb.
If you cannot source quail specific crumb, you can use Henergize poultry crumb but you must add ground sunflower hearts or EMP Egg Food to boost the protein content.
Food & Water
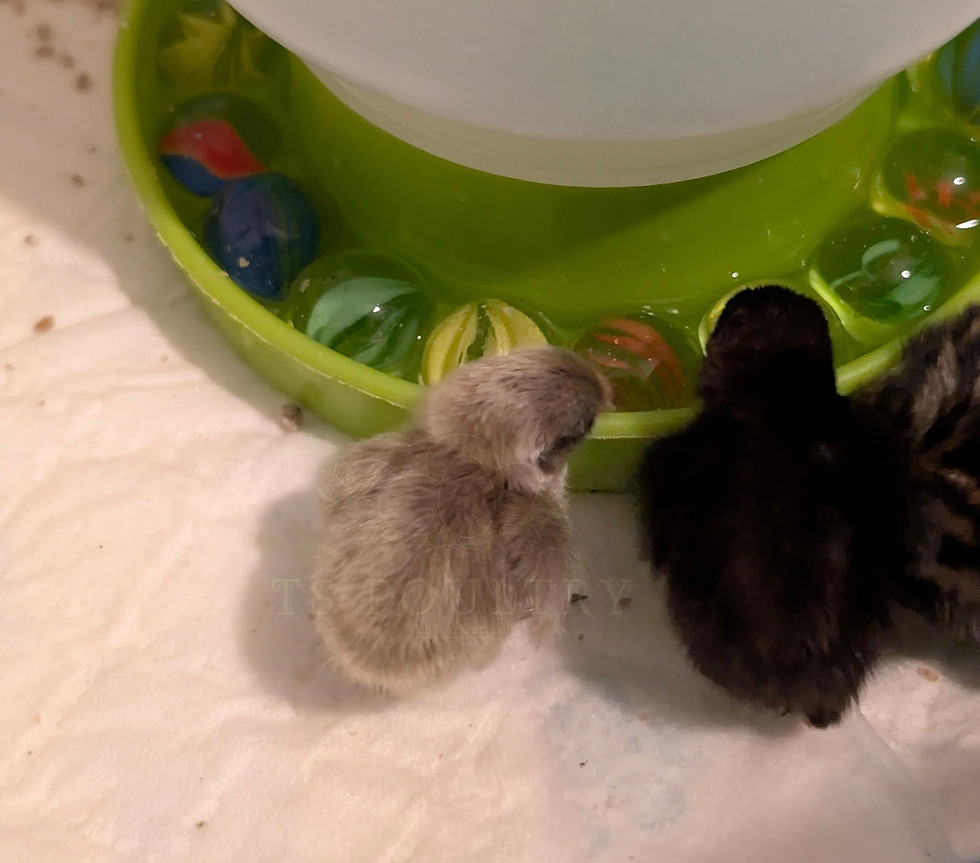
Since quail chicks are exceptionally small and can easily drown in even the shallowest of water dishes. To keep them safe, fill the base of their water container with clean marbles, pebbles, or large gravel. This allows the chicks to drink the water from the gaps between the stones without any risk of falling in, getting stuck, or becoming waterlogged. Marbles fill the base of a 1L Gaun drinker perfectly. Marbles or pebbles should be kept in their water container for a minimum of 1 week. Provide room-temperature water for the first few days to prevent shocking the chicks' sensitive systems.
Light
Keep a light on 24/7 so chicks can always find the heat source. Quail cannot see in the dark; if they wander out of the warm zone at night, they will chill and die.
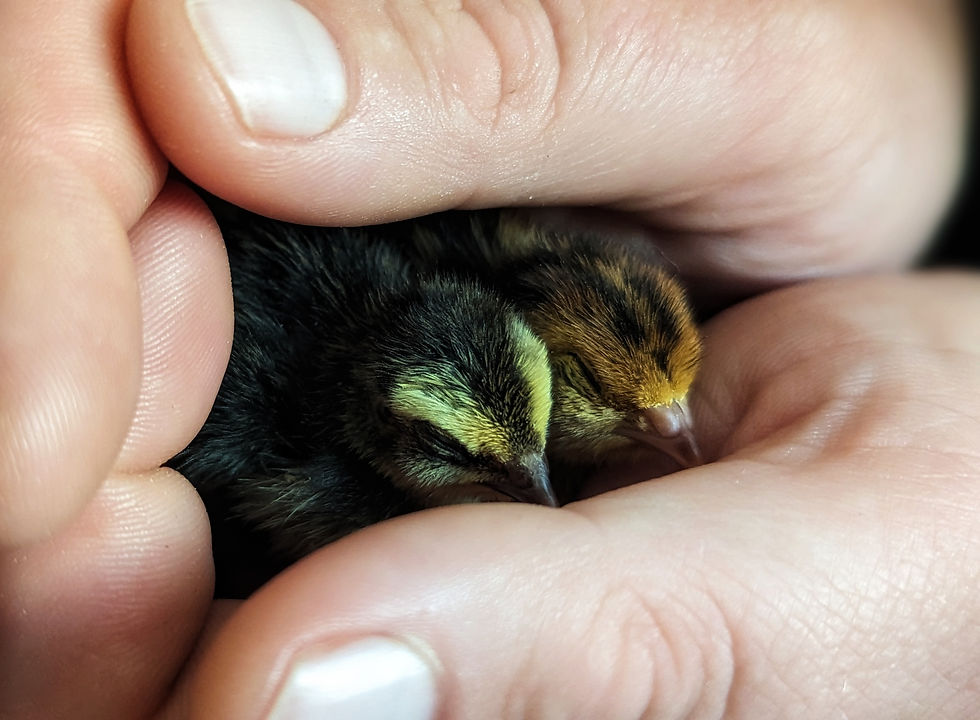
Moving your quail chicks from the incubator to the brooder box must be done with care - they may be small and freshly hatched, but quail chicks are very fast and jumpy!
-
Check both eyes are open, clean and bright. (Chicks moved to the brooder within 12 hours of hatching may seem lethargic due to exhaustion from recently hatching. Watch them closely for the next 24 hours for signs of recovery).
-
Ensure the upper and lower beak line up perfectly, checking for scissor beak, overbites, or underbites. (While beak deformities cannot be cured, affected birds can live happy, fulfilled lives if they can eat and drink independently. Do not breed birds with this condition, as the trait may be genetic).
-
Check that the legs are straight and positioned directly beneath the body, looking out for curled toes or splayed legs. (Splayed legs and curled toes can be corrected if caught early).
-
Check each chicks stance and mobility. (Watch the chick to confirm it stands fully upright and moves around with ease).
Before transferring chicks from the incubator to the brooder, perform a quick, head-to-toe health inspection on each bird:
Once your chicks pass their health checks, place them into the brooder with constant access to a shallow tray of crumb and fresh, room temperature water filled with marbles. Let them explore freely for 10 minutes before gently guiding them under the heat so they learn exactly where to find the warmth.
Growers, Adulthood & The Highlights Of Keeping Quail
Weeks 1–5 bring rapid changes. As your chicks undergo a massive transformation, their chick down will be replaced with adult feathering, they will transition off artificial heat and be getting ready to move outdoors. We start transitioning four week old growers onto Heygates Breeder Pellets using a 20% pellet to 80% crumb mix. Increasing their pellet ratio by 10% every 2 to 3 days (moving to 30:70, then 40:60) until the transition is complete and they are exclusively eating pellets.
At the time you transition your chicks onto adult feed, they will naturally begin using their heat source less frequently. This signals the ideal time to prepare them for life outdoors without artificial heat. Before making the move, around week 4, remove their heat source and open a window in the brooding room during the day. This allows them to safely acclimatise to cooler temperatures. Ensure you transfer them to their outdoor housing on a warm day for a smooth transition.
As outlined in our Housing Essentials guide, you will need to ensure your adult coop is the correct size, weatherproof, and 100% predator proof - you are entirely responsible for keeping these vulnerable birds safe at all times. Their secure habitat should be ready for occupancy by weeks 4 to 6, depending on the season.
Whether kept as delightful pets or for breeding purposes, adult Coturnix and Chinese Painted quail are exceptionally easy and rewarding birds to raise.
Highlights Of Keeping Coturnix & Chinese Painted Quail
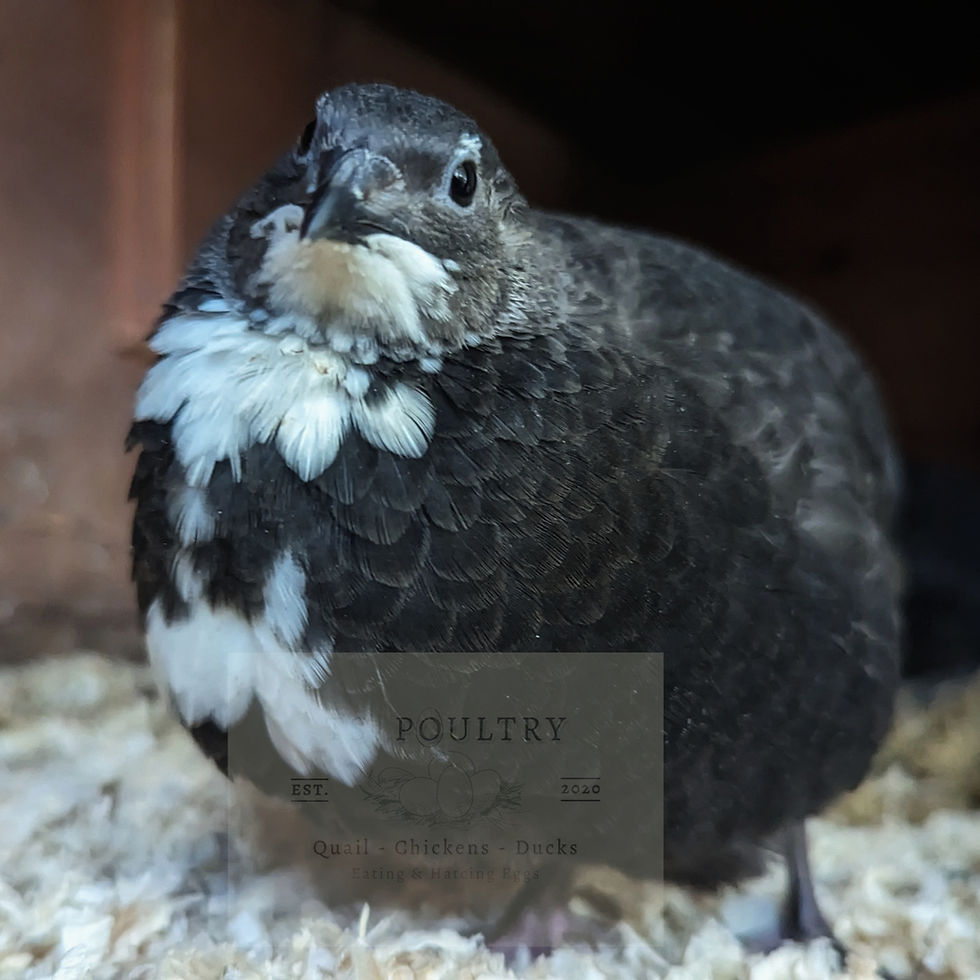
Coturnix;
-
Fast egg production: They being laying nutritious, speckled eggs at just 6 weeks of age (sometimes a little earlier!).
-
Excellent meat source: Jumbo Coturnix are fast growing producers of nutrient dense meat.
-
Hardy & resilient: They're cold hardy birds, making them ideal for British temperatures - so long as they are protected from wind and rain.
-
Calmer disposition: In comparison to the likes of Chinese Painted quail, Coturnix are significantly more docile and easier to handle - A calmer disposition can be achieved through selective breeding.
-
Beautiful colour mutations: They are available in a vast range of colour mutations, which you will soon have you wanting more!
Chinese Painted;
-
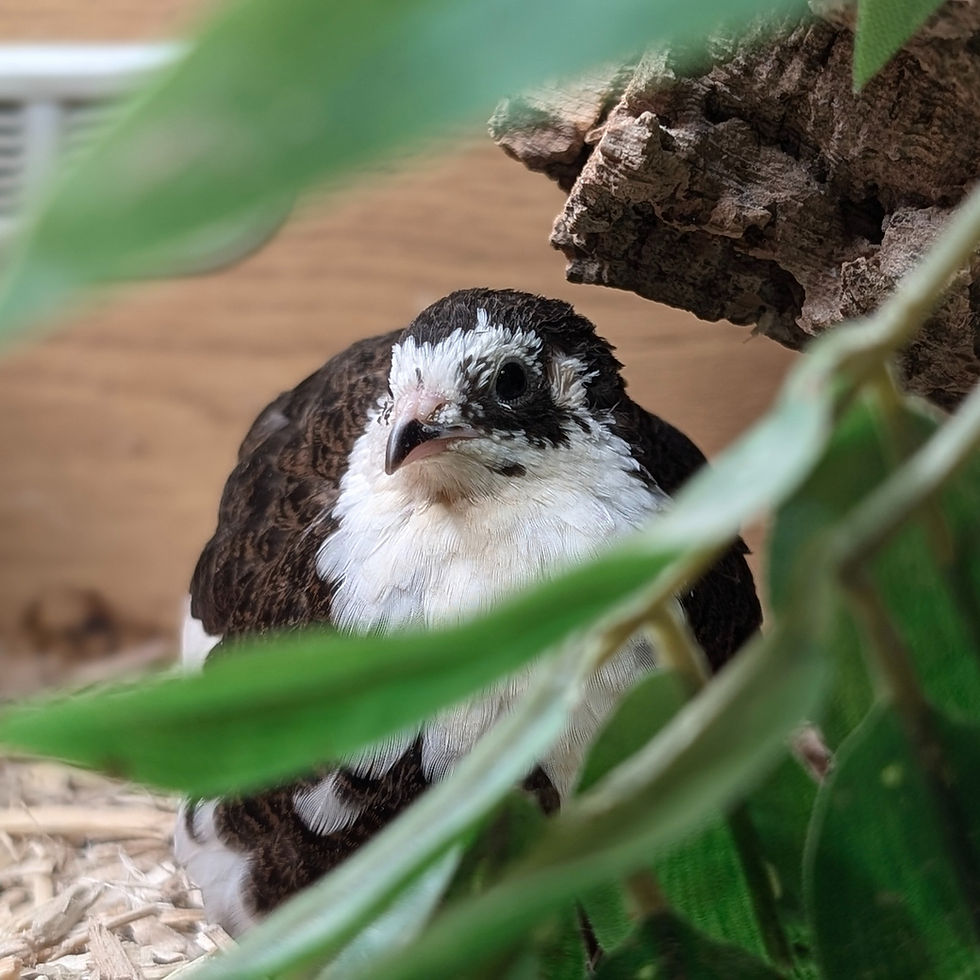
Aviary cleaners: Since they're mostly ground dwelling birds, they eat spilled seed from budgies and finches etc. keeping aviary floors clean.
-
Smaller housing: Their tiny size makes them perfect for smaller indoor setups, ie. 4ft vivarium housing approximately 3-4 adult CPQ.
-
Stunning ornamental birds: With their vast array of striking mutations, Chinese Painted Quails are sure to add a beautiful splash of colour to your flock/ aviary.
-
Exceptionally quiet: Since they don't crow loudly like chickens and they're much quieter than Coturnix, your neighbours won't be upset when they crow - they create a beautiful soothing call as they communicate back and forth.
4 Key Reasons For Keeping Quail
-
Hatching eggs - Hatching quail is a highly rewarding and educational experience that unlocks a world of self-sufficiency. Once hatched, these chicks can be raised to establish your own breeding stock, provide a highly nutritious and sustainable meat source, or deliver delicious, nutrient-packed eggs straight to your kitchen.
-
Sustainable meat source - Quail is the ultimate sustainable meat source. These compact birds convert feed to protein incredibly efficiently, making them ideal for urban keepers. Bring premium nutrition and self-sufficiency to your table with homegrown quail. It is exceptionally lean, rich in essential nutrients, and easy to raise. Top tip: Whilst processing your quail remember to save the feet, you can then dehydrate, boil or feed them raw to your dog.
-
Table eggs - Despite their small size, quail eggs are a certified nutritional superfood. They deliver a significantly higher concentration of essential vitamins, minerals, and protein than chicken eggs. From bite-sized canapés to classic a Scotch egg, quail eggs are incredibly versatile. Quail eggs are packed with amazing qualities that aren't only highly beneficial for humans - but your pets too!
-
Crafts - While it might seem unusual, quail feathers and eggs are actually popular materials in the crafting world. For instance, quail feathers are frequently used to create homemade rustic wreaths, custom fishing lures, and unique boho jewellery. Similarly, quail eggs can be transformed into beautiful rustic wreaths, blown-egg decorations, and miniature candles.
Look out for our handy DIY quail hacks, flock health tips, and much more in our blogs!